Wednesday, May 16, 2012

Chicken Kiev w mash


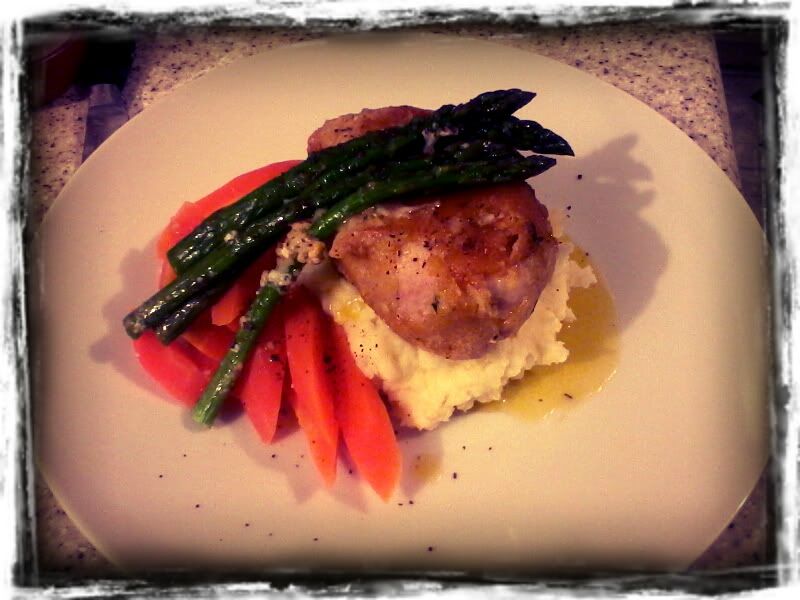
What a big hit last nights dinner was!! I served lightly steamed asparagus and carrots with the Kiev's and mash, not a scrap left...
Ingredients:
100g    Breadcrumbs

4         Chicken breast fillets
           Plain flour
1         Egg white, lightly beaten
50g     Butter, room temp
2tbs    Gourmet garden chives
2tsps   Gourmet garden chunky garlic
750g   Desiree potatoes, peeled and chopped
125ml Cream
           Salt & Pepper

Here's how it's done;


  1. Preheat oven to 180deg.
  2. To make the Kiev filling, combine 30g's of the butter, the chives and garlic and a little salt and pepper in a bowl.  Pile onto non-stick paper or cling-wrap and roll into a log and freeze for 30mins.
  3. In a saucepan place the potatoes covered well with cold water and bring to the boil. This should take 15-20mins
  4. Bash out the chicken fillets between glad-wrap using a meat-mallet so they are thinner, about 4mm thick.
  5. Unwrap the butter and quarter it, lengthways and place one on top of each bashed-out fillet and fold in the ends and roll up so the butter is completely enveloped by the chicken. 
  6. Place the roll in flour and dust lightly so there is no dampness left on the chicken but not excess flour.
  7. Dip the roll in the egg white and allow excess liquid to drip off placing the roll straight into the breadcrumbs.  Roll the Kiev around the plate until it's coated with crumbs.
  8. Repeat steps 6, 7 and 8 with all the Kiev's.
  9. Place on a baking tray and bake in the preheated oven for 25-30mins
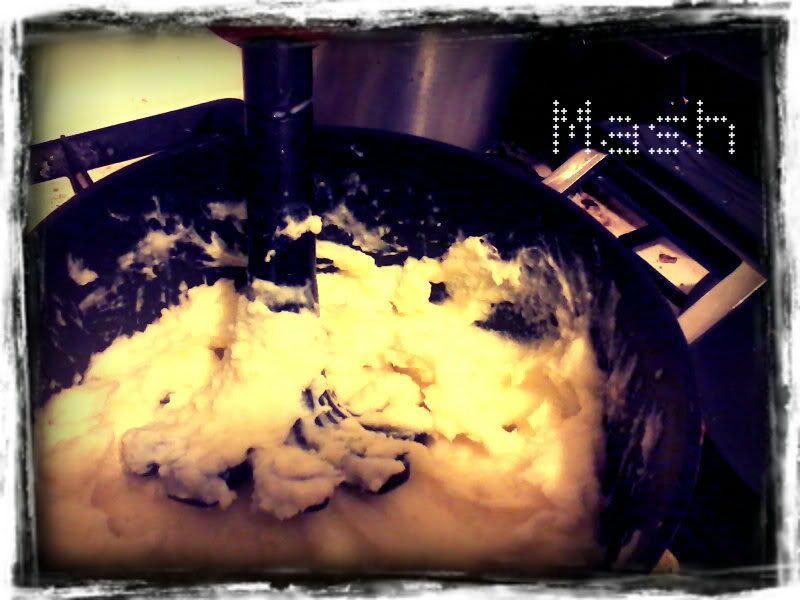
  10. Meanwhile your potatoes should be cooked, these can be tested by sticking a sharp knife in them, if it comes away easily they are done! Drain them and using the pot mash using the 20g of unused butter and the cream and salt and pepper.
  11. Slice the chicken and serve atop the mash with steam steamed veg.


What an awesome idea for a competition and right up my alley!! I've decided to enter for lots of reasons, I love to cook (duh, right), I'm fiercely competitive and I love the Gourmet garden herbs. I use them all the time for their convenience and their fresh taste! 
Over the next week i'll feature some recipes using their herbs. Their site is full of great information with lots of ideas, recipes and product info! Check them out at www.gourmetgarden.com

Jacinta 

Tuesday, May 15, 2012

Pizza rolls

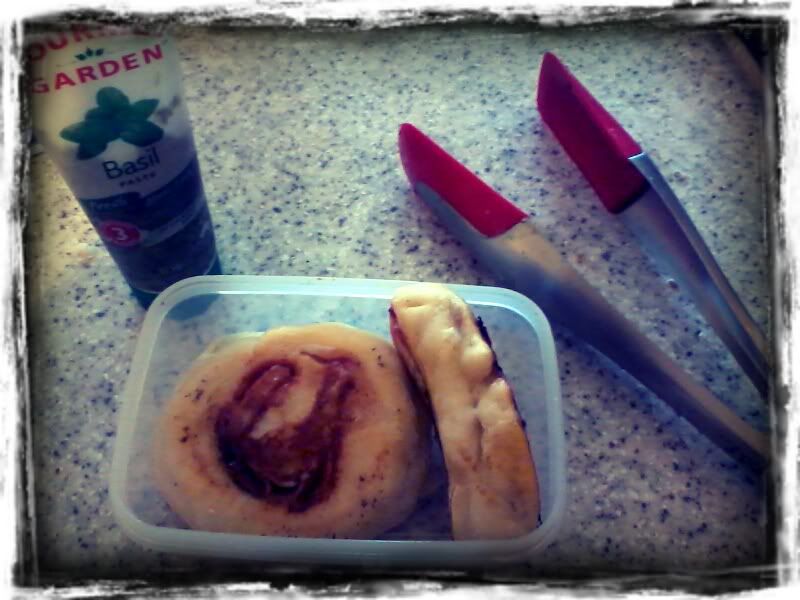
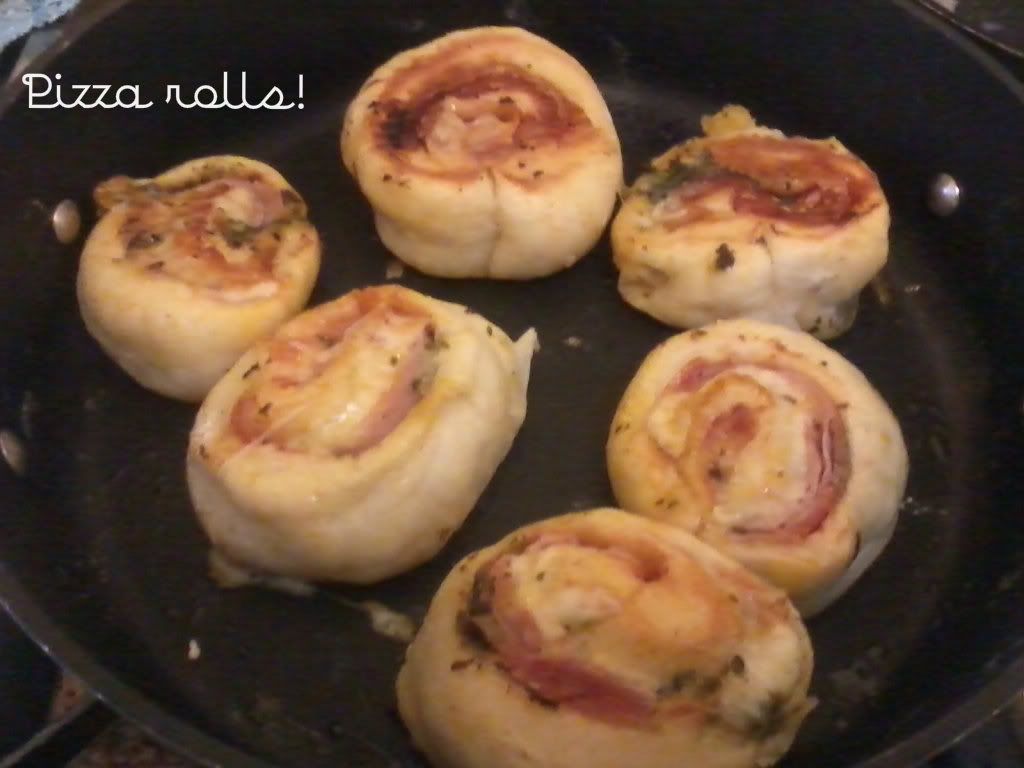
This morning I made the most awesome scrolls for the school lunch boxes! It was seriously easy and quick to do.


Ingredients:

Dough:
1cup Plain flour
1cup Self-raising flour
1tsp  dry yeast
1tsp  Caster sugar
1cup warm water
+ a little extra plain flour for kneading

Filling:
2tbspns Tomato paste
2tbspns Gourmet gardens Basil
3 slices  Ham
3 slices  Mozzarella cheese


  1. Preheat oven to 180deg
  2. In a medium sized bowl mix all of the dough ingredients until well combined.
  3. Turn out onto floured board and knead until smooth then, using a floured rolling pin (or do as i do and use a wine bottle!), roll out the dough so it is rectangular in shape (about 12cm wide and 30cm long) 
  4. Using a silicone brush, spread tomato paste all over the dough.
  5. Squeeze the basil directly from the tube onto the dough, distributing it all over the dough.
  6. Top with ham and cheese.
  7. Roll towards you, starting with the longest side of the rectangle so that you have one long sausage roll.
  8. Slice the roll into approximately 8 pieces and arrange in an oven proof dish which has a lid (I use the TCT saute pan which i can actually use on the stove top!!).
  9. Bake for 10mins on 180deg, remove lid and turn oven down to 170 and bake for a further 10mins. Remove from pan and serve!!

Wednesday, March 21, 2012

Pumpkin Pizza

There are a number of ways to make pizza bases of course but i'm going to share here my Fave method. It's simple and easy. As there is no need to prove the dough it's a great way to whip up a quick meal for impromptu visitors or hungry teens!

Dough:
1/2cup  self-raising flour
1/2cup  plain flour
1/2cup  water
1tsp      yeast
1tsp      honey
pinch of salt

Topping:
1/2cup  Caramelised onion
100g     Roasted capsicum, sliced
200g     Roast pumpkin
100g     Feta
2tblspn  Basil pesto
1 handful of roquette

1. Combine all of the dough ingredients in your Saute pan and mix well until dough forms, press out the dough into edges using oiled fingers.
2. Arrange pumpkin, onion, capsicum and crumble feta in that order on top of the pizza base, leaving a 1cm edge on the pizza.
3. Place lid on pan with vents closed and cook on medium heat for 5 mins.
4. Turn the vents to open and lower heat to low-medium and cook for a further 20mins.
5. Remove pizza from pan using a silicone egg flip and garnish with roquette and basil pesto.


Basil pesto


  • 1/4cup     pine nuts, toasted
  • 1 1/2cups basil leaves
  • 2small      garlic cloves, halved
  • 3/4cup     parmesan, grated
  • 5tbs         olive oil

Place the pine nuts, basil, garlic and parmesan in the bowl of a food processor and process until finely chopped. With the motor running, gradually add the oil in a thin steady stream until well combined.

Alternatively place all of the ingredients except the oil in a mortar & pestle and grind until well combined, gradually add the oil in a steady stream until thickened. 


Thursday, March 1, 2012

Caramelised onion

1kg brown or red onion 1/4cup brown sugar 2tsp grenadine 1tblspn olive oil 1. Finely slice onions discarding outer skin and stem/roots etc 2. Saute onion over very low heat in a heavy based pot with oil. 3. When onions are clear or glassy add sugar and grenadine and cover loosely with a lid. 4. Allow mixture to become thick and 'jammy' very slowly. 5. Cool and use!

Roasted capsicum.

I have a few methods of roasting capsicum, i'll let you decide which one suits you best to use! Method one, Flame grilled/charred; Light a large gas hob/burner and place a large red capsicum, balanced on the pot holders, and char the skin, turning so as to not burn the capsicum through. Once the skin is pretty much charred place in either a plastic bag and tie it up and allow to cool or place in a stainless steel bowl then cover tightly with glad wrap. This helps the skin separate from the flesh. When cool, peel away what skin you can from the flesh rinsing after to remove any bitter charred skin left behind. Voila, slice & use as required. Method two, oven roasted; In an oven that has been preheated to 180deg place oiled red capsicum on a rack. Roast until skin is blackened, can be anywhere between 20mins to an hour, you do have to keep any eye on it! Finish off using the same skin removal technique as mentioned above in method one.. In my honest opinion my favored method is method one, only because it is quicker than method two, but if you have other things going in the oven then method two is just as easy.